DermEngine Integration for Canfield Vectra
This page explains how to set-up the DermSync software to sync patient demographic data and images from the Canfield Vectra software to DermEngine.
While using this software, patients and images on Canfield Vectra will be transferred to the DermEngine platform. On DermEngine, images and lesions can be added to each patient.
Requirements:
- A Windows machine with Canfield Vectra installed
- The user needs to have permission to install DermSync
Installation Steps:
- Download the integration software (DermSync)
For Windows
DermSync-setup.msiFor Mac 64 bit (x64)
DermSync.app - Install DermSync on your machine (Default Folder: C:\Program Files (x86)\DermSync\).
Users need to have write permissions on this folder.
Note: We recommend installing DermSync for all users.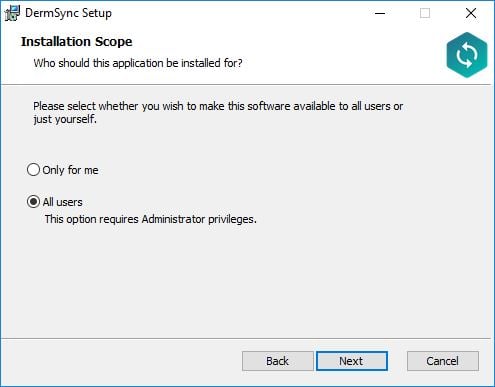
- In Canfield, select "Setup", then find the location of the "Mirror Database" under image folder:


- Double click to run the DermSync application or right click and select "Open".
- Enter your DermEngine credentials including your email and either your password or access key.
If you don't already have an account, visit https://app.dermengine.com/ or download the mobile app.
To learn how to create an account click here.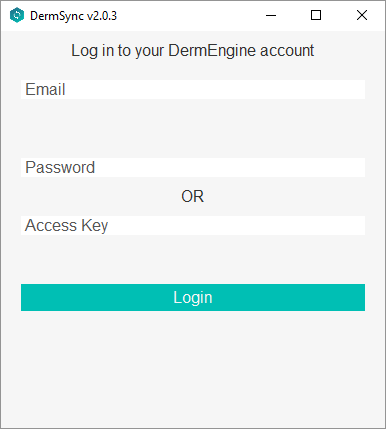
The access key can be retrieved on DermEngine under the Account menu. - Select "Canfield Vectra" from the drop down list

- In the DermSync application, select the location of the Mirror Database image folder.

- Once you have successfully logged in, any patient exported from Canfield Vectra will be available on your Patient List on DermEngine and the mobile apps. Images will be available under "Total Body Photography" on each patient.
Export images:
- In Canfield, add new images to a patient. The patient file is created automatically.
The only available information from Canfield is first and last name. The required field gender is determined based on patient first name and there’s a chance that the gender is not correct.
Patient details can be updated: https://help.dermengine.com/hc/en-us/articles/225461887-How-Do-I-Edit-A-Patient-s-Information- - Total body images are uploaded automatically under Unassigned Images:
https://help.dermengine.com/hc/en-us/articles/360022557233-How-Do-I-Add-Or-Upload-Total-Body-Images- -
Dermoscopy images are saved on Canfield as .T2K files and there is an extra step to export these images:
- First select the image(s) to be exported.
-
On the right side menu, select the Export button

-
The path to the patient's folder in "Mirror Database" should be selected.
⚠️ The user should be careful to select the right patient since the previous patient folder will be saved in Canfield. -
On DermEngine, the image can be found under Unassigned Images:
https://help.dermengine.com/hc/en-us/articles/360009901094-How-Do-I-Assign-A-Patient-s-Unassigned-Images-
Updating DermSync:
- When a new version of DermSync is available, the message below will pop up.
By simply clicking "Update", DermSync will download the most recent version and restart.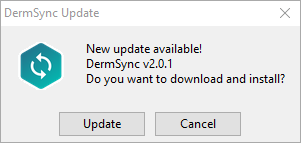
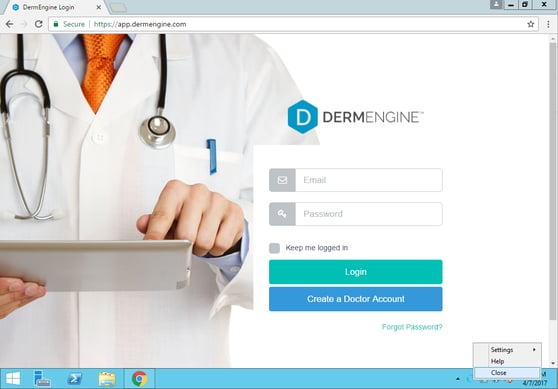
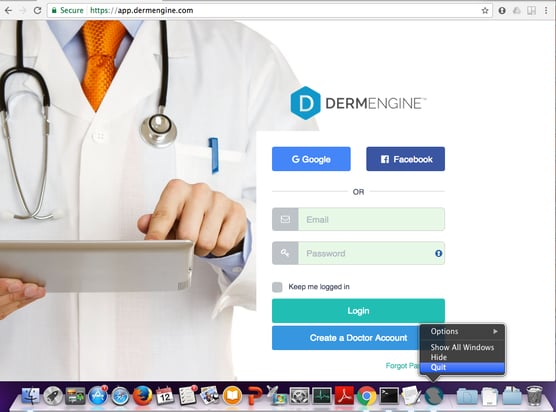
- If you are using DermSync v1.x, please make sure to first close the app by right clicking on the icon in the bottom right corner and selecting "Close".
